Best Practices for Building a Gaming PC
Building a gaming PC is less like assembling a toy and more like designing a small system: every part has to fit, deliver enough power, move enough air, and leave you with a machine that is easy to maintain once the adrenaline of the first boot wears off.
Most first-time builders are really asking four practical questions. Which parts matter most for gaming performance? How do you avoid buying components that clash on size or power? What is the safest order for assembly? And once the machine powers on, how do you know it is actually stable instead of merely lucky?
Those questions matter because PC hardware is built around standards and constraints, not vibes. The ATX form factor defines the mechanical side of the build, while the 80 PLUS program is a useful reference point when you are choosing a power supply that will not turn your case into a warm apology. The point is simple: good builds happen when compatibility, power delivery, cooling, and installation order are treated as one workflow.
In this guide, I will walk through that workflow from parts selection to Windows setup and post-build testing. If you want more hardware context after this article, the MaximoNET home page and the blog archive are good next stops.
Terminology That Matters Before You Open the Boxes
A gaming PC build becomes much easier when a few terms stop sounding abstract.
- CPU: the processor that handles game logic, simulation, operating-system tasks, and background workloads. In many esports titles, the CPU matters as much as the GPU.
- GPU: the graphics card, which carries most of the rendering load in modern games.
- Motherboard chipset: the platform layer that determines socket compatibility, expansion options, storage support, and BIOS features.
- PSU: the power supply unit. This is the part that gets ignored until it becomes the villain. Do not let it become the villain.
- RAM: system memory. Capacity affects multitasking and modern game behavior; speed and timings can affect performance depending on platform.
- NVMe SSD: fast solid-state storage that connects over PCIe and sharply improves load times, file transfers, and general system responsiveness.
- UEFI/BIOS: the motherboard firmware interface where you update firmware, enable memory profiles, set boot order, and check hardware detection.
- XMP or EXPO: preconfigured memory profiles that let compatible RAM run at its rated speed instead of a safer default baseline.
I like to think of a build as an operating system for hardware choices. If the structure is right, the right decisions become easy. If the structure is wrong, you will spend Saturday night searching for why the system trains memory for three minutes and then sulks into a black screen.
Choosing the Right Components
The easiest way to waste money on a gaming PC is to buy parts in isolation. The better method is to start with a target: resolution, refresh rate, game mix, budget ceiling, and expected upgrade life. A machine for competitive 1080p games needs a different balance than one built for 1440p single-player titles with heavy ray tracing.
For most readers, the component priority should look like this:
| Component | What it affects most | Best practice |
|---|---|---|
| Graphics card | Frame rate, visual settings, ray tracing, upscaling support | Set your gaming target first, then choose the GPU tier that fits it. |
| Processor | Frame pacing, minimum FPS, simulation-heavy games, multitasking | Pair it to the GPU; avoid overspending on CPU if the graphics card is midrange. |
| Memory | Modern game behavior, multitasking, platform efficiency | Use a sensible dual-channel kit with enough capacity for current titles. |
| Storage | Boot time, load time, patch handling | Use an NVMe SSD for the OS and primary game library. |
| Motherboard | Compatibility, ports, expansion, firmware features | Buy for reliability and features, not decorative heatsink drama. |
| Power supply | Stability, cable support, future upgrades | Choose quality first, wattage second. |
| Case and cooling | Noise, temperatures, build difficulty | Prioritize airflow, front-panel ventilation, and GPU clearance. |
Start with the GPU and the display target
If the system is primarily for gaming, the graphics card is the anchor. Decide whether you are building for 1080p high refresh, 1440p balanced settings, or 4K with compromises managed through upscaling. Once that is fixed, choose a CPU that keeps up without eating the rest of the budget.
Best practice: spend where the bottleneck lives. For many gaming builds, that means the GPU gets the largest share of the budget, followed by the CPU and monitor. A beautiful motherboard paired with an underpowered graphics card is how people end up benchmarking RGB instead of games.
Match the CPU to the platform, not just the price tag
Your CPU choice determines the motherboard socket, chipset, memory support, and cooler mounting hardware. That means it is really a platform choice, not a standalone product choice. Check the motherboard CPU support list, verify BIOS readiness if the board may have older stock, and confirm whether the cooler includes the correct mounting kit.
For a gaming-focused build, look for a processor that can maintain strong minimum frame rates without forcing you into premium-board pricing that breaks the budget. If your GPU tier is moderate, chasing a flagship CPU often produces an expensive machine with strangely ordinary gaming results.
Do not underspec memory or storage
Memory is one of the most common places where builders go too cheap and then spend the next year compensating for it. A dual-channel kit with enough capacity for current games, background apps, and browser tabs is the sane baseline. Capacity usually matters more than squeezing tiny gains from exotic timings.
Storage deserves the same practicality. Use a solid NVMe SSD for the operating system and your main library, then add secondary storage only if your game collection or media workflow actually requires it. Faster storage will not magically double your frame rate, but it absolutely improves the feel of the system, and feel matters more than many spec sheets admit.
Choose the power supply like it is infrastructure
A power supply should be selected by connector support, electrical quality, and upgrade headroom. Efficiency badges help, but they are not the whole story. Read the PSU spec sheet carefully: check PCIe power connectors for the GPU, EPS connector support for the motherboard, cable length for the case size, and total wattage with a reasonable margin instead of a panic margin.
Best practice: avoid buying a PSU that is technically enough for today’s load but awkward for tomorrow’s GPU. A modest reserve is useful. Buying a wildly oversized unit “just in case” usually is not.
Confirm physical compatibility before checkout
Compatibility errors are usually boring, which is why they are so effective at ruining builds. Check these before buying:
- CPU socket matches motherboard.
- Motherboard size fits the case.
- GPU length and thickness fit the case and leave room for front fans or radiators.
- CPU cooler height fits the case side-panel clearance.
- RAM height clears the air cooler if you are using a large tower heatsink.
- PSU has the exact power connectors the GPU and motherboard require.
- Number of storage devices matches the available M.2 and SATA resources.
Preparing Your Workspace
The workspace should reduce mistakes, not add character. Clear a large table, avoid carpet if possible, keep drinks somewhere else, and gather all screws, brackets, and manuals before opening anti-static bags. A bright light helps more than people expect. So does a magnetic parts tray.
Here is the practical workspace kit:
- A #2 Phillips screwdriver.
- A smaller screwdriver for M.2 screws if your board uses them.
- The motherboard manual, because front-panel headers remain an act of passive aggression.
- Zip ties or hook-and-loop straps for cable management.
- Isopropyl alcohol and a lint-free cloth in case thermal paste needs to be redone.
- A USB drive prepared for operating-system installation. Microsoft provides the official Windows installation media workflow for this step.
Before assembly, unpack the motherboard and place it on its box or another nonconductive surface. Install the CPU, memory, and NVMe drive there first. It is easier, safer, and less irritating than doing tiny connector work inside the case once everything is crowded.
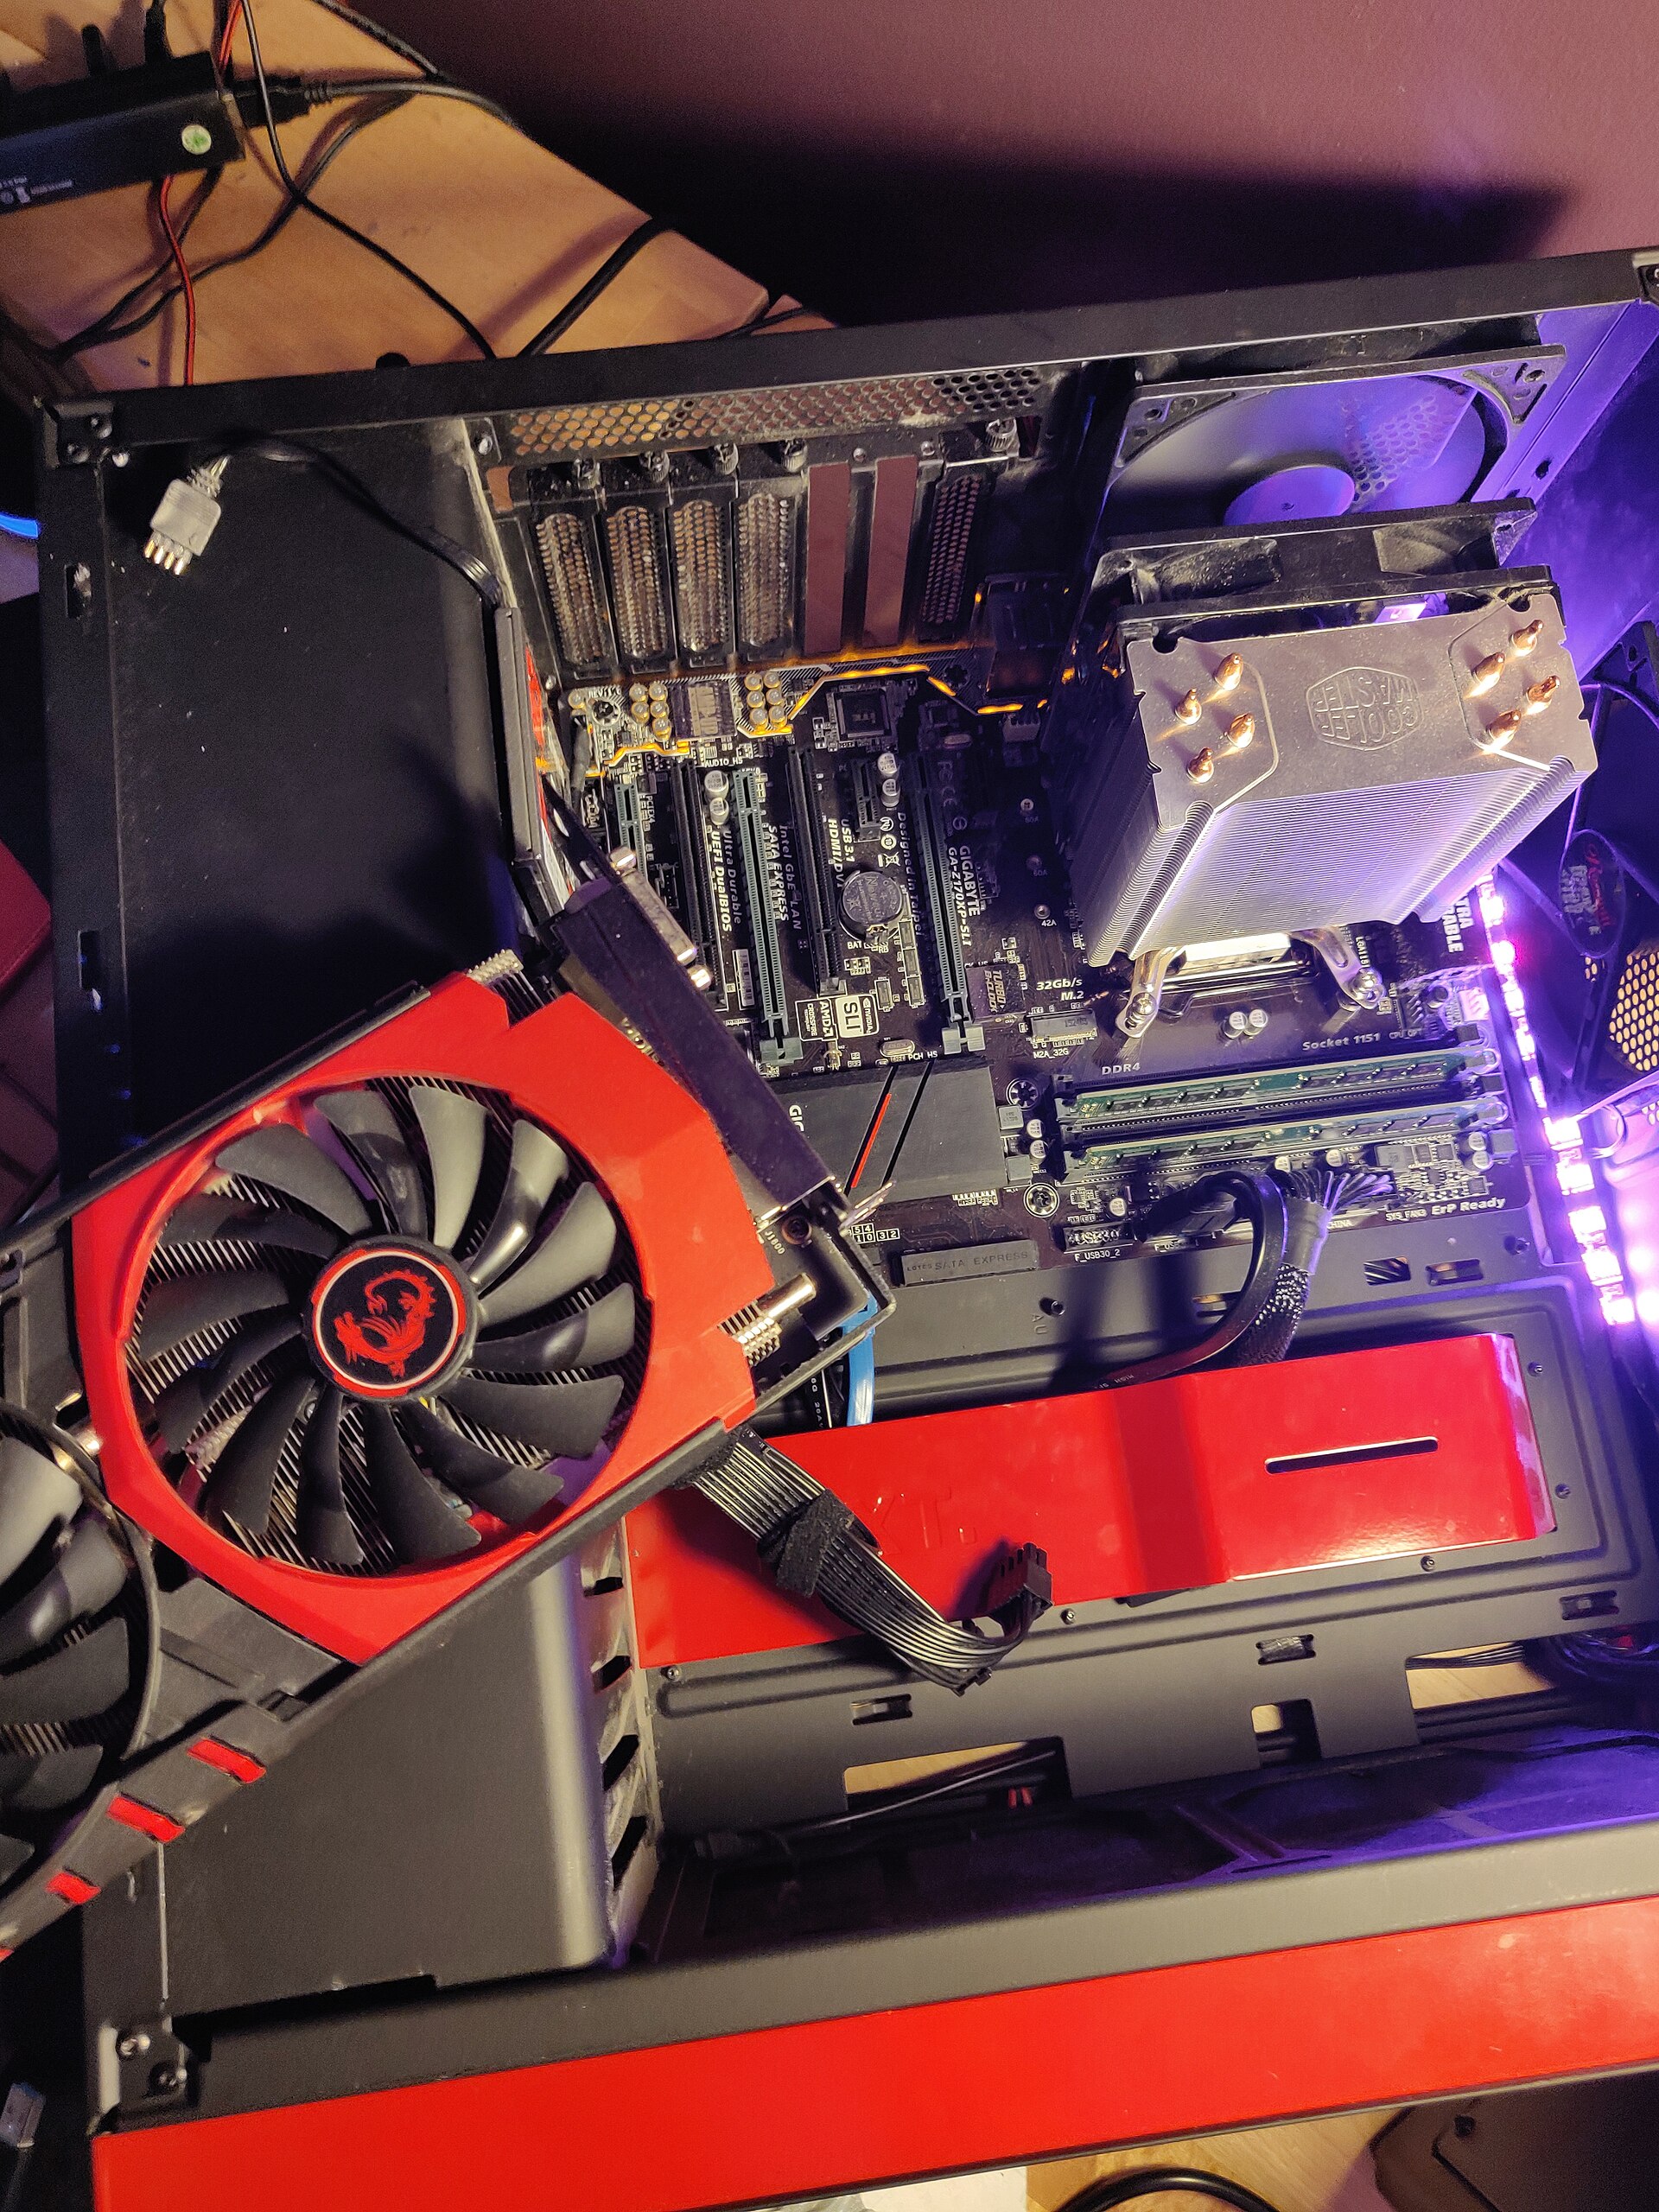
Step-by-Step Assembly Guide
The cleanest build order is the one that minimizes rework. This sequence is reliable for most air-cooled gaming PCs.
1. Install the CPU
Open the socket mechanism, align the CPU using the triangle marker, and lower it gently into place. Do not force it. If alignment is correct, the chip drops into position without persuasion. Lock the retention arm or plate according to the socket design.
Best practice: keep the motherboard manual open during this step even if you are confident. Modern platforms look simple until one tiny orientation mistake becomes expensive.
2. Install the RAM in the recommended slots
Check the motherboard manual for the preferred two-DIMM layout, which is usually not the first two slots side by side. Open the latches, align the notch, and press firmly until each module clicks into place. Many first-time builders stop half a millimeter early and then wonder why the system only boots with one stick.
3. Install the NVMe SSD
Insert the drive into the M.2 slot at an angle, secure it with the provided fastener or latch, and reinstall any heatsink if the board includes one. If the motherboard has multiple M.2 slots, check the manual for which slot connects directly to the CPU and whether populating certain slots affects SATA port availability.
4. Mount the CPU cooler
If the cooler does not have preapplied paste, apply a small amount of thermal compound to the CPU heat spreader, then mount the cooler evenly according to its instructions. Connect the fan to the CPU_FAN header. Uneven mounting pressure causes more troubleshooting hours than most people would like to admit.
5. Prepare the case
Install the motherboard standoffs in the correct pattern, confirm front intake and rear exhaust fan placement, and route major front-panel cables so they are accessible once the board is installed. If the motherboard does not have an integrated rear I/O shield, install that shield before mounting the board. Missing this step is a classic. It is also a deeply annoying classic.
6. Install the motherboard in the case
Lower the board carefully onto the standoffs, align the rear I/O and screw holes, and secure it without overtightening. Once mounted, connect the 24-pin motherboard power cable and CPU power cable while access is still decent.
7. Install the power supply
Mount the PSU with its fan oriented for the case layout, usually toward a ventilated intake. If the case has a filtered bottom intake, that is often the right direction. Route only the cables you need first: motherboard power, CPU power, GPU power, and storage or fan power as required.
8. Install the graphics card
Use the top x16 slot unless the motherboard manual says otherwise. Remove the correct slot covers, seat the GPU until it clicks, secure it to the case, and attach the required PCIe power connectors. If the case supports anti-sag brackets and the card is heavy, use one. Gravity is patient.
9. Connect front-panel, USB, audio, and fan headers
This step is tedious but important. Use the motherboard manual to connect the power switch, reset switch, storage LED, power LED, front USB, and front audio correctly. Then connect case fans to headers with a plan: front fans for intake, rear and top fans for exhaust unless your specific thermal design suggests otherwise.
10. Tidy cables before the first boot
Run cables behind the motherboard tray where possible, keep them out of major airflow paths, and ensure nothing can contact fans. Good cable management is not cosmetic theater. It improves serviceability, airflow, and your willingness to open the case again later without regret.
Installing the Operating System
For a new build, the operating-system phase is really three tasks: firmware check, OS installation, and driver setup.
Update firmware and load sane defaults
On first boot, enter UEFI/BIOS and confirm that the CPU, RAM, and storage drive are detected correctly. If the board shipped with an old firmware version and the vendor recommends an update for CPU support, stability, or memory compatibility, apply it before you start serious use. Then enable the correct memory profile such as XMP or EXPO so your RAM runs at its intended settings.
Install the OS on the primary SSD
Boot from your prepared USB installer and place the operating system on the NVMe drive you intend to use as the primary system disk. Keep the partition layout simple if this is your first build. Complexity is overrated when what you need is a stable gaming machine.
Install chipset, network, audio, and GPU drivers
Once the OS is running, install motherboard chipset drivers, networking drivers if needed, and the latest stable graphics driver from your GPU vendor. Then run operating-system updates before installing your core game library. This avoids a lot of avoidable instability disguised as bad luck.
Post-Build Testing and Troubleshooting
The machine is not finished when it powers on. It is finished when it survives testing, reports sensible temperatures, and behaves consistently across reboots and load changes.
Run basic validation first
Start with a short checklist:
- Confirm all installed memory is detected.
- Check CPU and motherboard temperatures at idle.
- Verify the storage drive appears correctly in the OS.
- Confirm case and CPU fans are spinning and following reasonable curves.
- Make sure the monitor is connected to the graphics card rather than the motherboard when a discrete GPU is installed.
For stability testing, tools such as MemTest86 for memory validation and HWiNFO for hardware monitoring are useful because they make hidden problems visible instead of mysterious.
Use a staged testing workflow
I prefer a layered approach:
- Idle check: confirm temperatures and fan behavior on the desktop.
- Light load: install launchers, download a few updates, and verify no random crashes appear.
- Game load: run one or two actual games you know well and watch frame pacing, noise, and temperatures.
- Stress pass: use your preferred CPU and GPU load tools carefully to make sure cooling and power delivery are behaving.
Best practice: treat instability as data, not insult. One crash does not prove the whole build is cursed. It usually points to a connection issue, firmware setting, memory training problem, or cooler mount that needs to be corrected.
Common problems and the likely cause
| Symptom | Likely cause | First fix to try |
|---|---|---|
| No power at all | PSU switch off, front-panel header miswired, loose 24-pin cable | Check PSU switch, power cable, and front-panel power switch pins. |
| System powers on but no display | GPU not seated, monitor connected to wrong output, memory not fully installed | Reseat the GPU and RAM, then verify monitor connection. |
| Boot loop after enabling memory profile | Memory settings unstable on current BIOS | Update BIOS, retry the profile, or step down settings slightly. |
| High CPU temperatures | Cooler mounting problem, too much or too little paste, poor airflow | Remount the cooler and confirm fan orientation. |
| Random game crashes under load | Power issue, unstable GPU settings, driver problem | Check power connectors, reinstall drivers, and test at stock settings. |
If a new build behaves strangely, simplify the system before escalating. Remove nonessential drives, disconnect extra RGB or fan accessories, return firmware settings to sane defaults, and test with the minimum required hardware. Troubleshooting works best when the machine is reduced to a clean baseline.
Conclusion
A strong gaming PC build is not defined by one expensive part. It is defined by a chain of sensible decisions: a GPU that matches the display target, a CPU and platform that support it, enough memory and fast storage, a trustworthy PSU, real airflow, and an assembly order that keeps mistakes visible instead of buried under panels and cables.
The key takeaway is simple: build for balance, verify compatibility before you buy, and test stability before you declare victory. If you treat the PC as a system rather than a shopping cart, the result will usually be quieter, faster, easier to upgrade, and much less dramatic in all the right ways.
If you are comparing older hardware references, tuning ideas, or related guides, continue through the MaximoNET blog for more PC-focused coverage.