Understanding Overclocking: A Guide for Beginners
What Is Overclocking?
Overclocking means running a computer part at a higher speed than the factory setting. The idea is simple: give the part a little more room to work and it may do more work in the same amount of time. Tiny engineering gremlins, however, tend to object if you rush things.
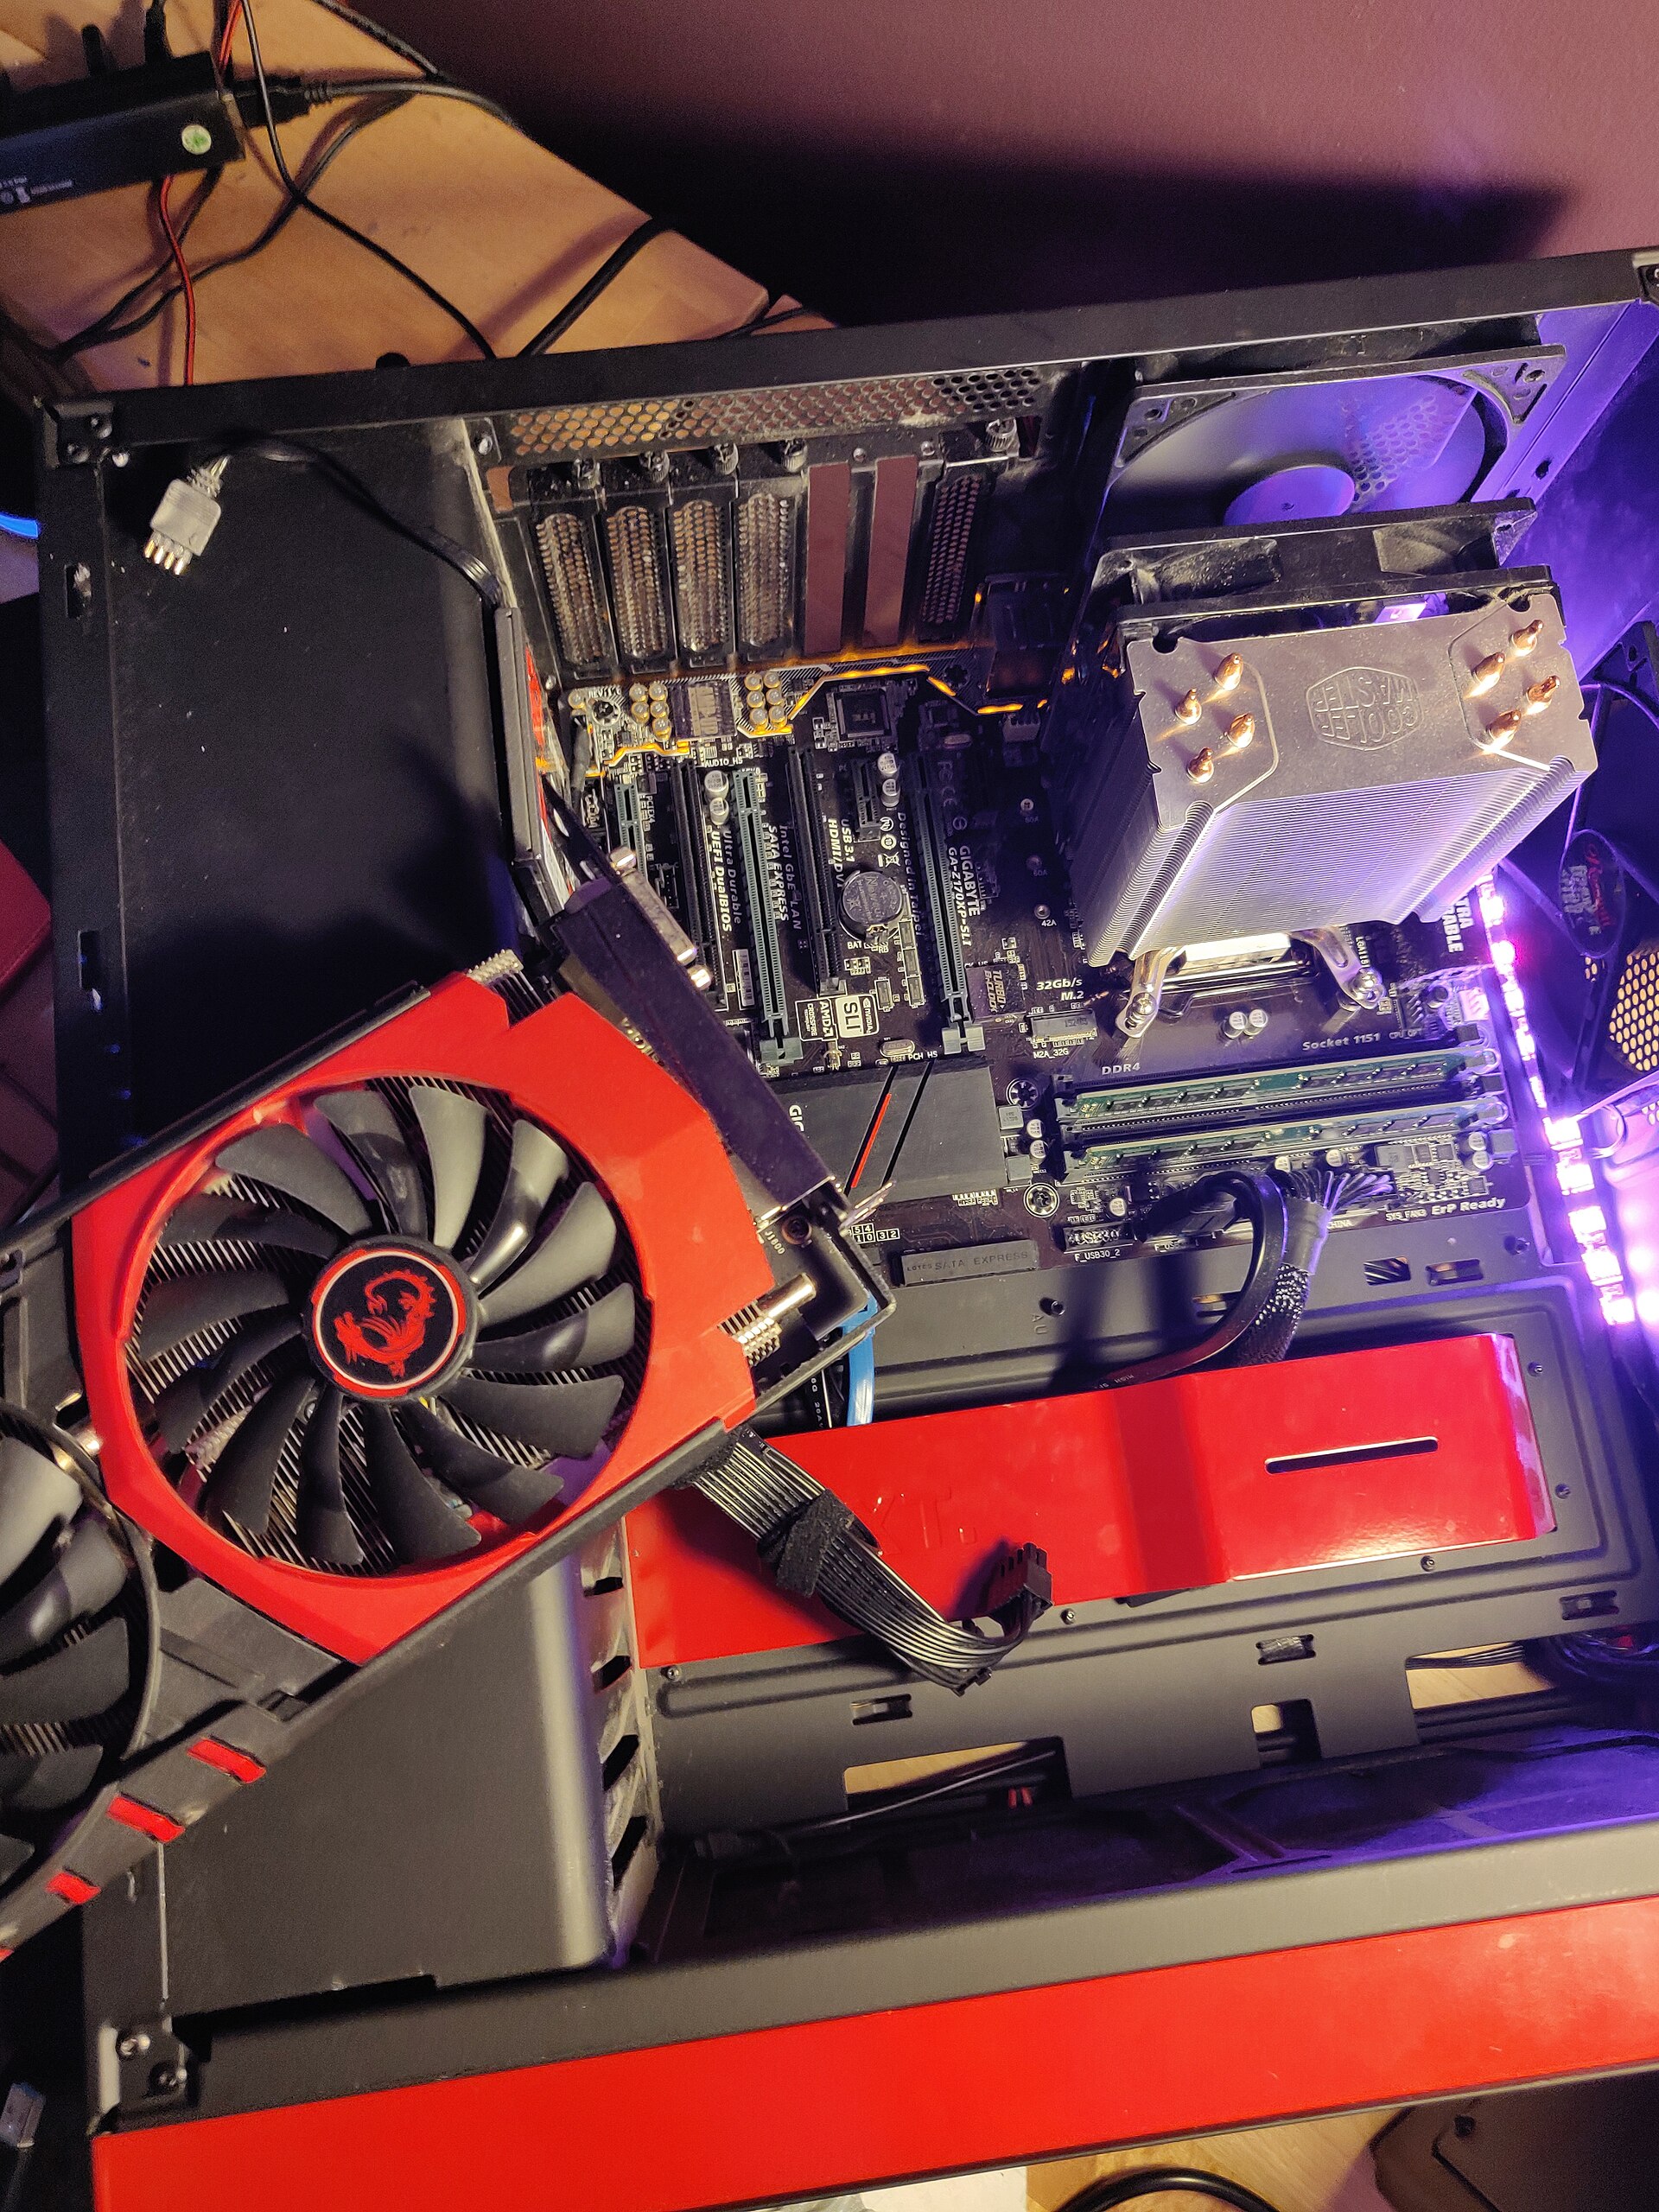
Common parts people overclock include the CPU (the main processor), GPU (the graphics card), and sometimes memory. In this guide, I focus on the GPU because it is one of the most approachable places for beginners to start.
If you want a plain-language overview of how graphics hardware is discussed on this site, the home page is a good place to begin, and you can also browse the blog index for related guides.
Benefits and Risks
The appeal is easy to understand. A successful overclock can improve frame rates, reduce stutter, or help older hardware feel a little less tired. That said, every gain comes with a tradeoff. More speed usually means more heat and more power use.
- Benefit: Better performance in games or other graphics-heavy tasks.
- Benefit: A little extra life from hardware you already own.
- Risk: Higher temperatures if cooling is not good enough.
- Risk: Crashes, artifacts, or unstable behavior if settings are pushed too far.
- Risk: Warranty implications, depending on the hardware maker and your region.
For a conservative hardware perspective, official documentation from GPU vendors is worth reading before you change anything. Start with NVIDIA’s support and product guidance on graphics cards and cooling best practices: NVIDIA GeForce graphics cards and AMD’s Radeon product information: AMD Radeon desktop graphics.
How to Overclock Your GPU
Before you touch a slider, do two things: update your graphics driver and make sure your case is reasonably clean. Dust is not a performance strategy.
- Choose reliable software. Many beginners use tools such as MSI Afterburner or the utility that came with their graphics card.
- Start small. Increase the core clock in tiny steps, then test stability.
- Adjust memory speed carefully. Memory can help performance, but it also causes instability when pushed too hard.
- Watch temperature and fan speed. If heat climbs quickly, back off.
- Test for stability. Run a game or benchmark for at least 15 to 30 minutes after each change.
Do not change every setting at once. If you do, you will have no idea which change caused the problem. That is how people create a very expensive mystery.
| Step | What to do | Why it matters |
|---|---|---|
| 1 | Record default settings | You need a safe way back. |
| 2 | Raise one value a little | Small changes are easier to test. |
| 3 | Test for crashes or visual glitches | Instability shows up here first. |
| 4 | Repeat only if the system stays stable | Patience usually beats ambition. |
Tools Required for Overclocking
You do not need a drawer full of expensive gadgets. A few practical tools are enough for a safe start.
- Overclocking software: A trusted app to change clock speeds and fan settings.
- Monitoring software: A tool that shows temperature, clock speed, and load in real time.
- Stress test or game: A repeatable way to see whether the system stays stable.
- Cooling support: Clean case airflow, a working GPU fan curve, and sensible room temperature.
For monitoring, official guidance and general background on overclocking and GPU temperature behavior can be useful context, but your own system readings matter most. A single hot afternoon can change the story faster than any forum post.
Monitoring Performance and Temperature
Monitoring is the part that keeps the hobby from becoming a repair bill. Look for a balance between performance and heat. A small gain that runs cool is better than a big gain that throttles or crashes.
Signs that the settings are too aggressive include sudden black screens, driver resets, unusual fan noise, and visual artifacts such as sparkles or strange lines on the screen. If you see those, reduce the clock speed a little and test again.
- Track FPS: Check whether the card actually performs better in the games you play.
- Track temperature: Keep an eye on peak temperature, not just the average.
- Track stability: A system that crashes after 20 minutes is not stable enough.
- Track noise: Loud fans are often a sign that cooling is working too hard.
Helpful third-party references include a practical explanation of safe GPU tuning from Tom’s Hardware’s GPU overclocking guide and monitoring tool documentation such as TechPowerUp GPU-Z. These are good reminders that numbers are useful, but the machine gets the final vote.
Conclusion
Overclocking can be a useful way to squeeze more performance from a graphics card, but it works best when you move slowly and keep temperature in check. Start with small changes, test each step, and keep a record of what you changed.
If you want the safest version of the story, remember this: good cooling, small steps, and patience usually matter more than fancy settings. Begin with your defaults saved, then adjust one setting at a time.
For more practical website and hardware guides, visit the blog or return to the home page when you want a broader overview.